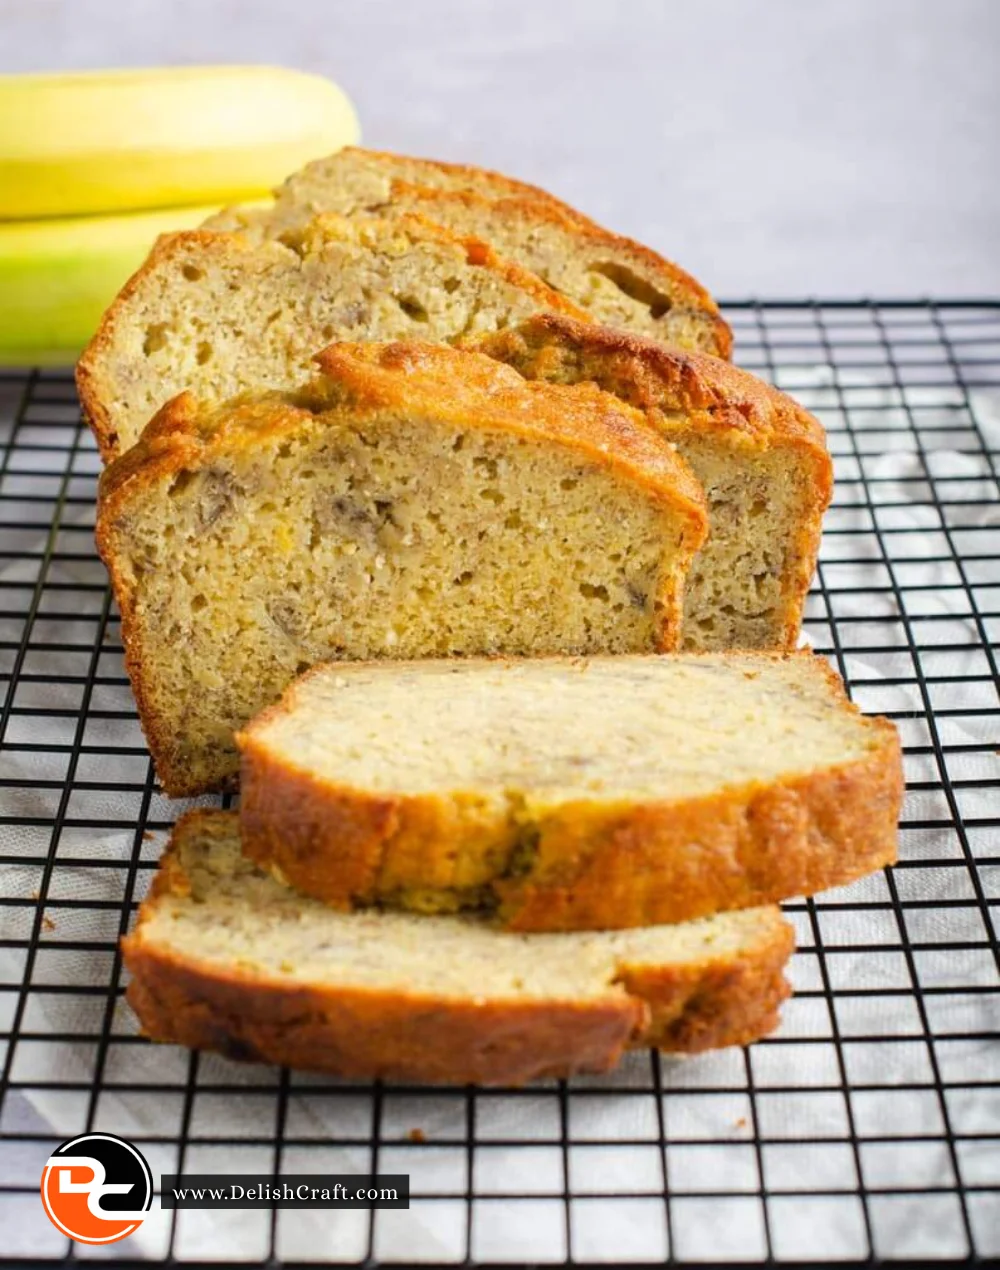

Glazed Strawberry Bread
This Glazed Strawberry Bread is a delightful treat that’s perfect for spring and summer gatherings. The soft, moist bread is bursting with fresh strawberry flavor and topped with a sweet glaze, making it an irresistible option for breakfast, brunch, or an afternoon snack. The vibrant pink hue from the strawberries and the glossy finish of the glaze add a touch of elegance, making it not just tasty but also a beautiful addition to any table.
Recipe Information
- Prep Time: 20 minutes
- Cook Time: 50-60 minutes
- Total Time: 1 hour 20 minutes
- Servings: 8 slices
- Difficulty Level: Easy
Nutrition Information
- Calories per serving: 225
- Protein: 3g
- Carbohydrates: 33g
- Fat: 10g
- Fiber: 1g
- Sugar: 14g
- Sodium: 180mg
Why Make This Glazed Strawberry Bread
There are so many reasons to love this Glazed Strawberry Bread! First and foremost, its flavors are the highlight – the sweetness of strawberries pairs perfectly with the buttery richness of the bread. This recipe is not only simple and approachable for cooks of all skill levels, but it also makes use of fresh ingredients which is a bonus for health-conscious bakers. Additionally, this sweet loaf is versatile; it’s equally great served warm straight from the oven or cooled, making it perfect for various occasions. Whether you’re looking to impress guests or just have a comforting snack at home, this lovely bread is sure to please.
How to Make Glazed Strawberry Bread
Ingredients:
- 2 cups all-purpose flour
- 1 teaspoon baking powder
- 1/2 teaspoon baking soda
- 1/4 teaspoon salt
- 1/2 cup sugar
- 1/2 cup unsalted butter, softened
- 2 large eggs
- 1 teaspoon vanilla extract
- 1/2 cup buttermilk
- 1 cup fresh strawberries, chopped
- 1 cup powdered sugar
- 2 tablespoons milk (for glaze)
Directions:
-
Step 1: Preparation
Preheat the oven to 350°F (175°C). Grease a loaf pan to ensure that your bread comes out easily after baking.
-
Step 2: Mixing Dry Ingredients
In a bowl, whisk together flour, baking powder, baking soda, and salt. This will help to evenly distribute the leavening agents in your bread, resulting in a consistent rise.
-
Step 3: Creaming the Butter and Sugar
In another bowl, cream together the sugar and softened butter until light and fluffy. Add the eggs one at a time, mixing well after each addition. Finally, stir in the vanilla extract to give your bread a lovely aroma.
-
Step 4: Combining Ingredients
Gradually add the dry ingredients to the wet mixture, alternating with buttermilk until everything is well-combined. Fold in the chopped strawberries gently, being careful not to over-mix, to keep the bread light and airy.
-
Step 5: Baking
Pour the batter into the prepared loaf pan and smooth the top. Bake for 50-60 minutes, or until a toothpick inserted into the center comes out clean. The sweet smell of strawberries will fill your kitchen during baking!
-
Step 6: Cooling
Allow the bread to cool in the pan for 10 minutes before transferring it to a wire rack. This step helps to set the bread and makes it easier to slice.
-
Step 7: Glazing
For the glaze, mix powdered sugar with milk until smooth. Once the bread is completely cool, drizzle the glaze generously over the top for that extra sweetness.
How to Serve Glazed Strawberry Bread
This bread is versatile enough to enjoy any time of day! Serve it warm with a cup of coffee for breakfast, slice it for an afternoon snack alongside tea, or dress it up with whipped cream and fresh strawberries for a delightful dessert. You can also pair it with yogurt or cottage cheese for a hearty brunch option.
How to Store Glazed Strawberry Bread
Store any leftovers in an airtight container at room temperature for up to 3 days. For longer storage, wrap the bread tightly in plastic wrap, then in aluminum foil, and freeze it for up to 3 months. Just thaw it at room temperature when you’re ready to enjoy it again!
Expert Tips for Perfect Glazed Strawberry Bread
- Use ripe, fresh strawberries for the best flavor. If they’re too soft, freeze them for a short while to make chopping easier.
- Don’t over-mix the batter once you add the strawberries to maintain a tender texture.
- Consider adding a pinch of cinnamon or nutmeg to the batter for an extra layer of flavor.
Delicious Variations
- Substitute half of the strawberries with blueberries or raspberries for a mixed berry version.
- Add chopped walnuts or pecans for a delightful crunch.
- Use almond milk or coconut milk instead of buttermilk for a dairy-free option.
Frequently Asked Questions
-
Can I use frozen strawberries?
Yes, you can! Just make sure to thaw and drain them well to prevent excess moisture in your bread. -
How can I make this recipe gluten-free?
Use a gluten-free all-purpose flour blend in place of regular flour, maintaining the same measurements. -
Can I reduce the sugar in this recipe?
Absolutely! You can reduce the sugar by 1/4 cup for a less sweet version without significantly affecting the texture. -
What if I don’t have buttermilk?
You can make a quick substitute by mixing 1/2 cup of milk with 1/2 tablespoon of vinegar or lemon juice. Let it sit for a few minutes before using it in the recipe. -
How do I know when my bread is fully baked?
A toothpick inserted into the center should come out clean or with just a few crumbs attached. If it’s too wet, give it an additional 5-10 minutes in the oven.
Conclusion
Glazed Strawberry Bread is a charming and delicious recipe that’ll brighten your day with its delightful flavors. Its soft texture and sweet strawberry notes make it a go-to for various occasions, from casual family breakfasts to festive gatherings. With simple ingredients and easy steps, this recipe is perfect for both beginner and experienced bakers. So gather your ingredients, channel your inner baker, and enjoy the process of creating this scrumptious loaf. Happy baking!