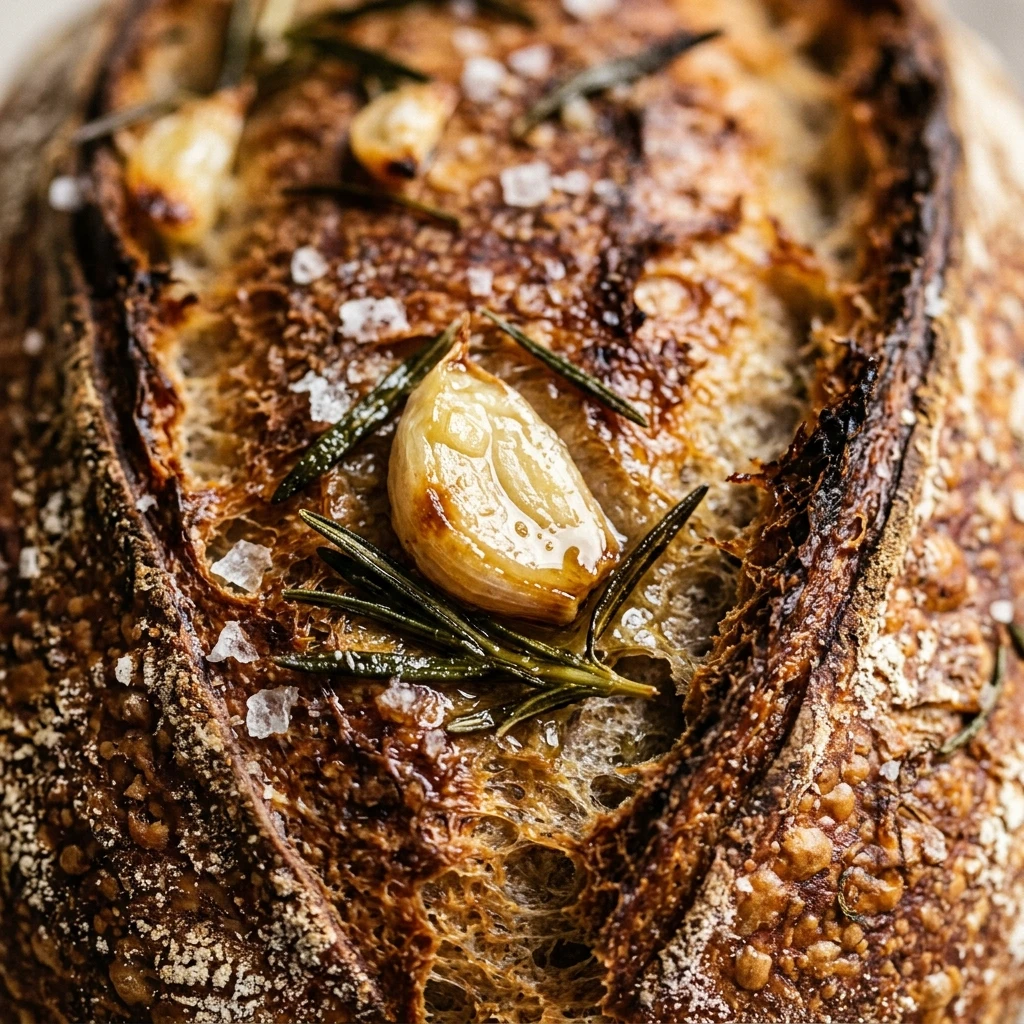
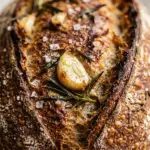
Garlic Rosemary Sourdough Loaf
There is nothing quite like the smell of a fresh Garlic Rosemary Sourdough Loaf cooling on your kitchen counter. This bread combines the signature tang of a traditional sourdough with the earthy, aromatic punch of fresh rosemary and the mellow sweetness of roasted garlic. It is a rustic, artisanal bread that tastes like it came straight from a professional bakery, yet it is surprisingly achievable to make in your own home kitchen.
Whether you are a seasoned sourdough enthusiast or a beginner looking to level up your bread game, this recipe is a showstopper. The crust is thick and crunchy, while the inside remains soft, airy, and bursting with flavor. It is the perfect accompaniment to a warm bowl of soup, a festive dinner party, or simply enjoyed on its own with a thick smear of salted butter.
Recipe Information
- Prep Time: 24 hours (includes fermentation and proofing)
- Cook Time: 45 minutes
- Total Time: 24 hours 45 minutes
- Servings: 12 slices
- Difficulty Level: Medium
Nutrition Information
- Calories per serving: 185 kcal
- Protein: 6g
- Carbohydrates: 36g
- Fat: 2g
- Fiber: 2g
- Sugar: 1g
- Sodium: 420mg
Why Make This Garlic Rosemary Sourdough Loaf
This loaf is the ultimate comfort food. Unlike store-bought bread, homemade sourdough uses a slow fermentation process that makes the nutrients more bioavailable and the gluten easier to digest. Adding garlic and rosemary elevates the nutritional profile with antioxidants and anti-inflammatory properties, all while providing an incredible depth of flavor that complements almost any meal.
Beyond the health benefits, there is a deep sense of satisfaction in the process. Watching a few simple ingredients—flour, water, salt, and herbs—transform into a beautiful, golden-brown loaf is incredibly rewarding. This bread also makes a wonderful gift for friends and neighbors, filling their homes with an irresistible aroma that truly says “homemade with love.”
How to Make Garlic Rosemary Sourdough Loaf
Making this bread requires patience and a bit of technique, but the process is straightforward if you follow the steps. We will start by preparing the flavorful inclusions and then move through the folding and fermentation stages to build strength in the dough.
Ingredients
- 100g active sourdough starter (bubbly and fed)
- 350g warm filtered water
- 500g bread flour (or all-purpose flour)
- 10g fine sea salt
- 1 head of garlic (roasted and mashed)
- 2 tablespoons fresh rosemary, finely chopped
- 1 tablespoon olive oil
Directions
Step 1: Mix the Dough
In a large mixing bowl, whisk together your active sourdough starter and warm water until the starter is mostly dissolved. Add the bread flour and salt. Mix by hand or with a sturdy spoon until a shaggy dough forms and no dry flour remains. Cover the bowl with a damp cloth and let it rest for 30 to 45 minutes to autolyse.
Step 2: Incorporate Inclusions
While the dough rests, roast your garlic with a little olive oil until soft, then mash it into a paste. Once the dough has finished its initial rest, spread the mashed roasted garlic and the finely chopped rosemary over the top of the dough. Gently fold the dough over itself several times to begin incorporating the flavors.
Step 3: Bulk Fermentation and Stretching
Over the next 3 to 4 hours, perform a series of “stretch and folds” every 30 minutes. Reach under one side of the dough, pull it upward, and fold it over the center. Rotate the bowl and repeat four times. This builds the gluten structure. Cover and let the dough sit in a warm spot until it has grown in size by about 50% and looks bubbly.
Step 4: Shaping the Loaf
Gently turn the dough out onto a lightly floured surface. Fold the edges toward the center to create a round shape (boule) or an oval (batard). Tension is key here; use your hands to pull the dough toward you on the counter to create a smooth, tight skin on the top. Place the dough upside down into a proofing basket or a bowl lined with a floured kitchen towel.
Step 5: Cold Overnight Proof
Cover the proofing basket with plastic wrap or a reusable cover and place it in the refrigerator for 12 to 18 hours. This cold ferment develops the sour flavor and makes the dough easier to score before baking. Cold dough also holds its shape better when it hits the hot oven.
Step 6: Scoring and Baking
Preheat your oven to 450°F (230°C) with a Dutch oven inside for at least 45 minutes. Turn the cold dough out onto a piece of parchment paper. Use a sharp blade or “lame” to cut a deep slash across the top. Carefully lower the dough into the hot Dutch oven, cover with the lid, and bake for 20 minutes. Remove the lid and bake for another 20 to 25 minutes until the crust is a deep golden brown.
How to Serve Garlic Rosemary Sourdough Loaf
Wait at least one hour before slicing into your loaf; this allows the internal structure to set so the bread isn’t gummy. Serve thick slices alongside a hearty beef stew or a fresh Caesar salad. It also makes incredible gourmet grilled cheese sandwiches or can be toasted and topped with avocado and a sprinkle of chili flakes for an elevated breakfast.
How to Store Garlic Rosemary Sourdough Loaf
Store your bread cut-side down on a wooden cutting board for the first 24 hours to maintain the crispy crust. Afterward, keep it in a paper bag or a bread box. Avoid plastic bags as they will make the crust soft. For longer storage, slice the loaf and freeze the slices in a freezer-safe bag for up to 3 months. You can toast slices directly from the freezer!
Expert Tips for Perfect Garlic Rosemary Sourdough Loaf
Always use fresh rosemary rather than dried if possible; the oils in fresh herbs provide a much more vibrant flavor. When roasting the garlic, make sure it is completely cooled before adding it to your dough, as hot ingredients can kill the yeast in your starter. If your crust is getting too dark before the inside is done, lightly tent the loaf with aluminum foil for the last 10 minutes of baking.
Delicious Variations
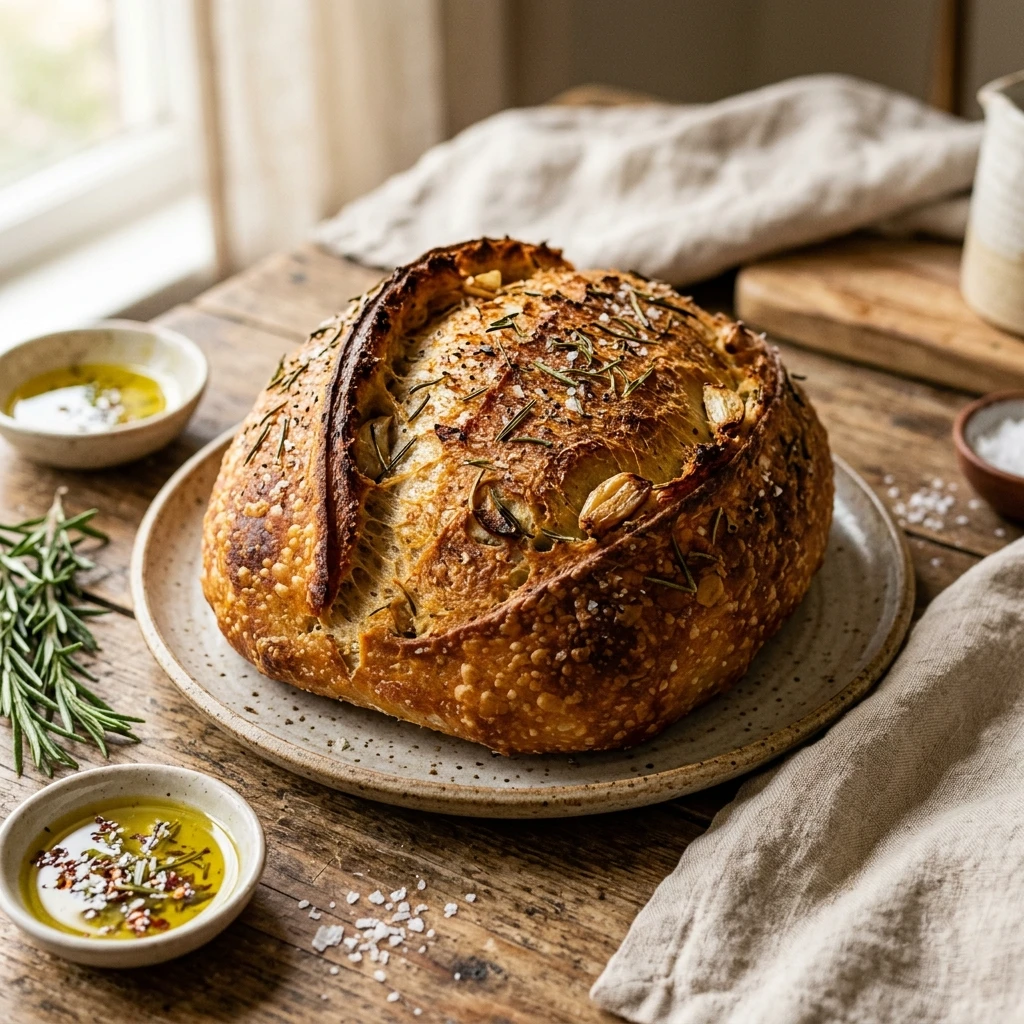
For a cheesy twist, add 50 grams of shredded parmesan or sharp white cheddar during the folding process. If you like a bit of heat, finely diced pickled jalapeños pair beautifully with the garlic. You can also swap the rosemary for fresh thyme or sage if you prefer a different herbal profile. For a vegan-friendly “buttery” finish, brush the warm crust with a little extra olive oil and a sprinkle of flaky sea salt immediately after taking it out of the oven.
Frequently Asked Questions
Q: Can I use dried rosemary instead of fresh?
Yes, you can use dried rosemary, but use about half the amount (1 tablespoon) as dried herbs are more concentrated and have a woodier texture.
Q: What if my sourdough starter isn’t very active?
It is best to wait until your starter is at its peak (doubled in size and bubbly) before mixing. A weak starter will result in a dense loaf that doesn’t rise well.
Q: Can I bake this without a Dutch oven?
Yes, you can bake it on a baking stone or sheet, but you will need to create steam in the oven by placing a pan of hot water on the bottom rack during the first 20 minutes of baking.
Q: Why did my garlic turn blue or green inside the bread?
This is a natural chemical reaction between the enzymes in the garlic and the acidity of the sourdough. It is perfectly safe to eat and does not change the flavor.
Q: How do I get a more “sour” flavor?
The longer the cold ferment in the refrigerator, the more tangy the flavor will be. You can leave the dough in the fridge for up to 48 hours for a very strong sourdough taste.
Conclusion
Mastering the Garlic Rosemary Sourdough Loaf is a journey that rewards you with incredible flavor and a sense of accomplishment. While it takes time, the actual hands-on work is minimal, and the result is far superior to anything you can buy at the store. Once you pull that fragrant, golden loaf out of the oven, you will realize that every hour of waiting was absolutely worth it. Happy baking!
Garlic Rosemary Sourdough Loaf
- Total Time: 24 hours 45 minutes
- Diet: Vegetarian, Vegan
Ingredients
- 100g active sourdough starter (bubbly and fed)
- 350g warm filtered water
- 500g bread flour (or all-purpose flour)
- 10g fine sea salt
- 1 head of garlic (roasted and mashed)
- 2 tablespoons fresh rosemary, finely chopped
- 1 tablespoon olive oil
Instructions
- Mix the Dough: In a large mixing bowl, whisk together your active sourdough starter and warm water until the starter is mostly dissolved. Add the bread flour and salt. Mix by hand or with a sturdy spoon until a shaggy dough forms and no dry flour remains. Cover the bowl with a damp cloth and let it rest for 30 to 45 minutes to autolyse.
- Incorporate Inclusions: While the dough rests, roast your garlic with a little olive oil until soft, then mash it into a paste. Once the dough has finished its initial rest, spread the mashed roasted garlic and the finely chopped rosemary over the top of the dough. Gently fold the dough over itself several times to begin incorporating the flavors.
- Bulk Fermentation and Stretching: Over the next 3 to 4 hours, perform a series of “stretch and folds” every 30 minutes. Reach under one side of the dough, pull it upward, and fold it over the center. Rotate the bowl and repeat four times. This builds the gluten structure. Cover and let the dough sit in a warm spot until it has grown in size by about 50% and looks bubbly.
- Shaping the Loaf: Gently turn the dough out onto a lightly floured surface. Fold the edges toward the center to create a round shape (boule) or an oval (batard). Tension is key here; use your hands to pull the dough toward you on the counter to create a smooth, tight skin on the top. Place the dough upside down into a proofing basket or a bowl lined with a floured kitchen towel.
- Cold Overnight Proof: Cover the proofing basket with plastic wrap or a reusable cover and place it in the refrigerator for 12 to 18 hours. This cold ferment develops the sour flavor and makes the dough easier to score before baking. Cold dough also holds its shape better when it hits the hot oven.
- Scoring and Baking: Preheat your oven to 450°F (230°C) with a Dutch oven inside for at least 45 minutes. Turn the cold dough out onto a piece of parchment paper. Use a sharp blade or “lame” to cut a deep slash across the top. Carefully lower the dough into the hot Dutch oven, cover with the lid, and bake for 20 minutes. Remove the lid and bake for another 20 to 25 minutes until the crust is a deep golden brown.
- Cook Time: 24 hours 45 minutes