Protein Cherry Garcia Ice Cream
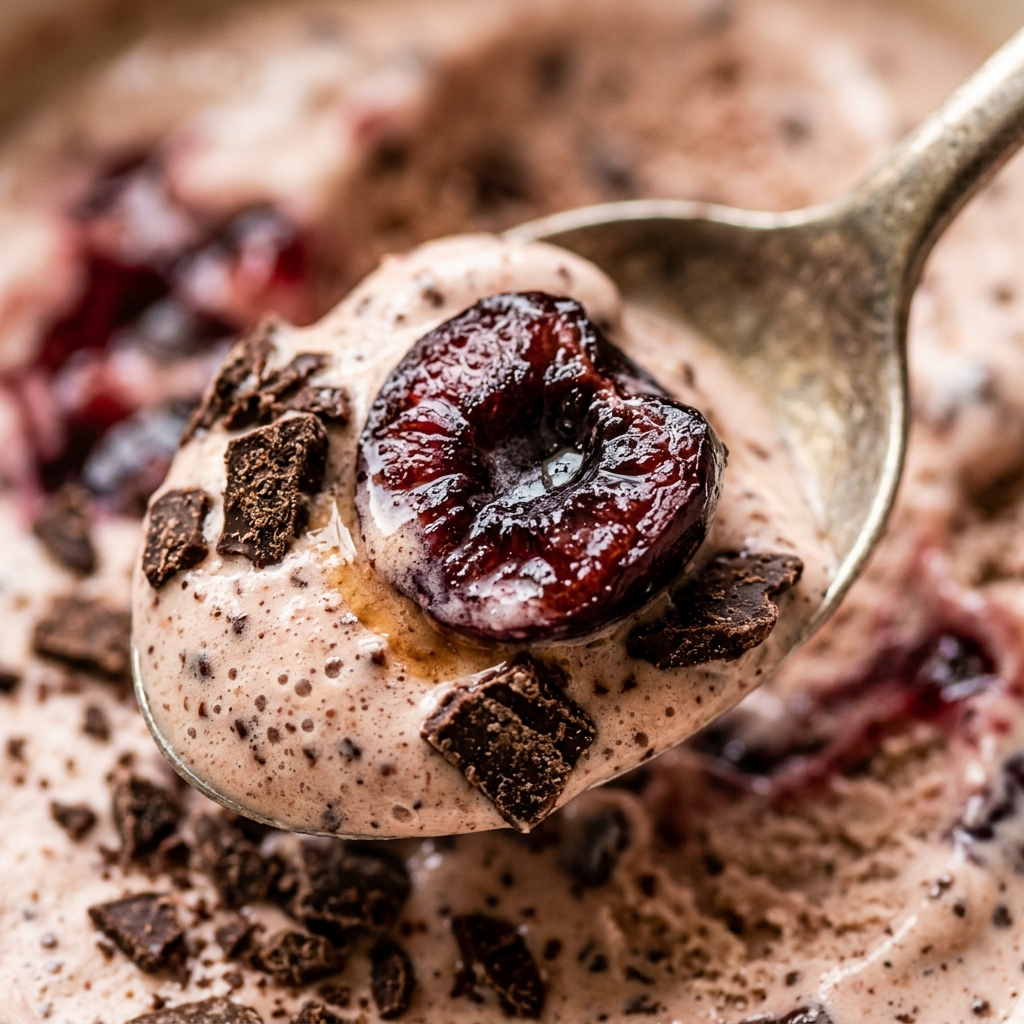
If you love the iconic combination of sweet cherries and rich dark chocolate but want to stay on track with your fitness goals, this Protein Cherry Garcia Ice Cream is a game-changer. Inspired by the classic Ben & Jerry’s flavor, this version packs a powerful protein punch while keeping the calories and sugar in check. It is thick, creamy, and satisfyingly indulgent.
Whether you are looking for a post-workout treat or a healthy late-night snack, this recipe delivers all the nostalgic flavors you crave. You do not need to be a professional chef to master this; with just a few simple ingredients and a blender or ice cream maker, you can whip up a batch that rivals any premium pint from the grocery store.
Recipe Information
- Prep Time: 10 minutes
- Cook Time: 0 minutes
- Total Time: 10 minutes
- Servings: 2
- Difficulty Level: Easy
Nutrition Information
- Calories per serving: 245
- Protein: 28g
- Carbohydrates: 18g
- Fat: 7g
- Fiber: 3g
- Sugar: 11g
- Sodium: 160mg
Why Make This Protein Cherry Garcia Ice Cream
This recipe is perfect for anyone who wants to enjoy dessert without the typical “sugar crash.” By using high-quality protein powder and natural fruit, you get a nutrient-dense treat that supports muscle recovery and keeps you full. It is much more affordable than buying specialty high-protein ice creams from the store, and you have total control over the ingredients.
Another reason to love this recipe is its versatility. You can customize the sweetness and texture to your exact preference. Plus, it is a fantastic way to satisfy a sweet tooth while sticking to a low-calorie or high-protein diet plan. It is kid-friendly, macro-friendly, and absolutely delicious.
How to Make Protein Cherry Garcia Ice Cream
Making this healthy frozen treat is incredibly straightforward. All you need is a blender to create a smooth base and a few minutes to fold in the delicious toppings that make this flavor famous.
Ingredients
- 2 scoops (approx. 60g) Vanilla or Chocolate Protein Powder
- 1.5 cups Unsweetened Almond Milk (or milk of choice)
- 1/2 cup Frozen Cherries, pitted and roughly chopped
- 2 tablespoons Dark Chocolate Chips or sugar-free chocolate chunks
- 1/4 teaspoon Xanthan Gum (optional, for thickness)
- 1 tablespoon Erythritol or Stevia (optional, for extra sweetness)
- 1/2 teaspoon Vanilla Extract
Directions
Step 1: Blend the Base
In a high-speed blender, combine the protein powder, almond milk, xanthan gum, vanilla extract, and sweetener. Blend on high for about 45 to 60 seconds until the mixture is completely smooth and starts to thicken slightly.
Step 2: Churn or Freeze
If you are using an ice cream maker, pour the mixture in and churn according to the manufacturer’s instructions (usually 15-20 minutes). If you are using a Ninja Creami, pour the mixture into the pint container and freeze for 24 hours before spinning. If you don’t have a machine, pour the mixture into a shallow dish and place it in the freezer.
Step 3: Prepare the Mix-ins
While the base is thickening, chop your frozen cherries into halves or quarters. If your chocolate chips are large, give them a rough chop as well to ensure you get a bit of chocolate in every bite.
Step 4: Incorporate the Cherries and Chocolate
Once the ice cream has reached a soft-serve consistency, stop the machine or remove the dish from the freezer. Gently fold in the chopped cherries and chocolate chips using a spoon or spatula to distribute them evenly throughout the cream.
Step 5: Final Set
You can eat the ice cream immediately for a soft-serve texture. If you prefer a firmer, scoopable ice cream, transfer the mixture to an airtight container and freeze for an additional 1 to 2 hours before serving.
How to Serve Protein Cherry Garcia Ice Cream
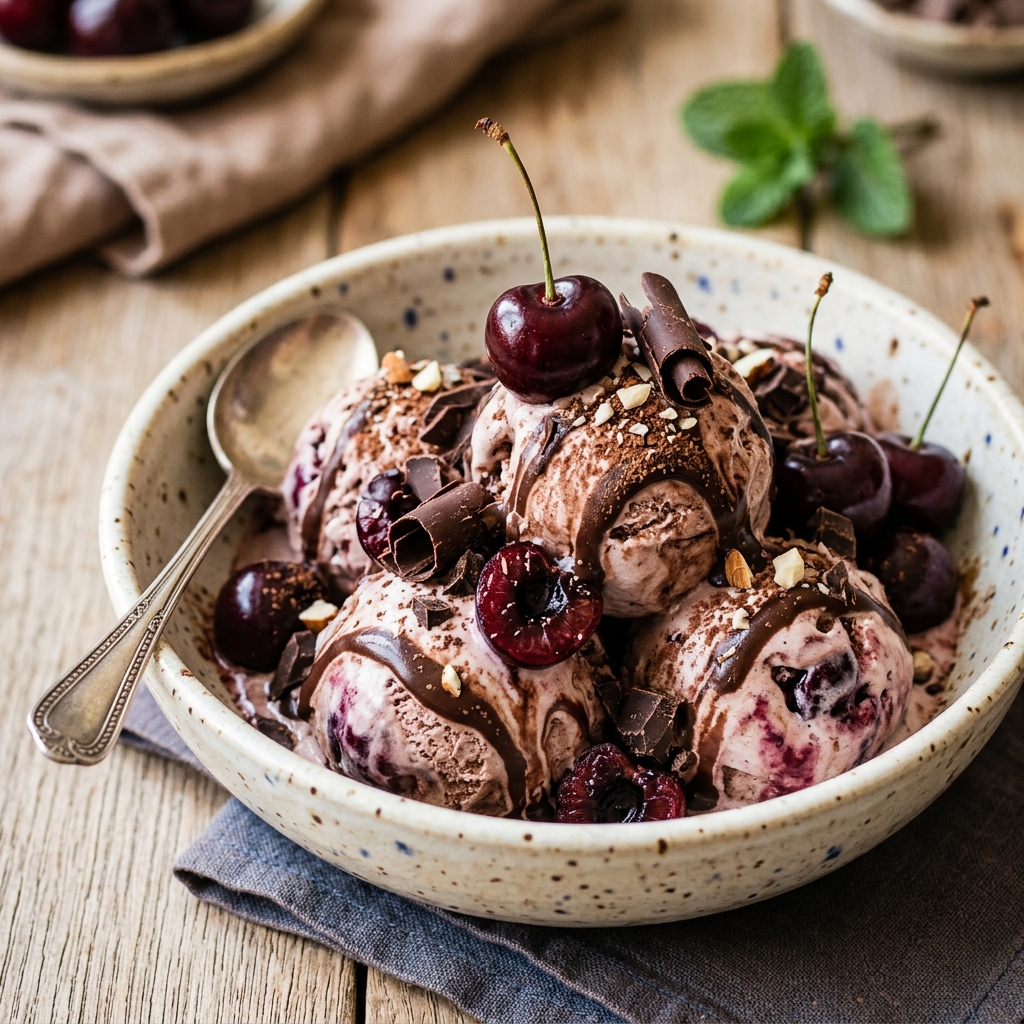
Serve this ice cream in a chilled bowl to prevent it from melting too quickly. For an extra touch of indulgence, you can top it with a few extra fresh cherries or a drizzle of sugar-free chocolate syrup. It also pairs wonderfully with a high-protein waffle or pancake for a decadent breakfast-style dessert.
How to Store Protein Cherry Garcia Ice Cream
Store any leftovers in an airtight, freezer-safe container. Because homemade protein ice cream lacks the preservatives and heavy fats of commercial brands, it may become quite firm in the freezer. To enjoy it again, let the container sit on the counter for 10-15 minutes to soften before scooping, or microwave it for 10-15 seconds.
Expert Tips for Perfect Protein Cherry Garcia Ice Cream
For the best texture, use a whey-casein protein blend, as it tends to be creamier than 100% whey. If your ice cream feels too icy, adding a pinch of salt or a teaspoon of vodka (which doesn’t freeze) can help keep it softer. Using frozen cherries instead of fresh ones helps keep the base cold and prevents the fruit from bleeding too much color into the cream.
Delicious Variations
For a “Double Chocolate Cherry” version, use a rich chocolate protein powder and add a tablespoon of cocoa powder to the blender. If you want a bit of crunch, try adding crushed almonds or walnuts. You can also swap the almond milk for coconut milk to give the ice cream a subtle tropical undertone and extra creaminess.
Frequently Asked Questions
Q: Can I make this without an ice cream maker?
Yes! You can use the “freeze and stir” method by placing the blended mixture in the freezer and stirring it every 30 minutes for 2 hours to break up ice crystals, or simply use a Ninja Creami.
Q: What protein powder works best?
Vanilla protein powder is classic, but chocolate also works great. Casein or a whey/casein blend usually results in a thicker, more “real ice cream” texture than whey isolate.
Q: Is xanthan gum necessary?
It is not strictly necessary, but it acts as a stabilizer and thickener. It prevents the ice cream from becoming too icy and gives it that professional, stretchy texture.
Q: Can I use fresh cherries?
Yes, you can use fresh cherries, but make sure to pit them first. Frozen cherries are often preferred because they are picked at peak ripeness and help the ice cream freeze faster.
Q: How long does this stay fresh in the freezer?
It is best consumed within 1 week for the best flavor and texture, though it will remain safe to eat for up to a month if stored in a tightly sealed container.
Conclusion
This Protein Cherry Garcia Ice Cream proves that you don’t have to sacrifice flavor for nutrition. With its creamy base, juicy cherry chunks, and decadent chocolate bits, it is the perfect solution for your dessert cravings. Give this recipe a try today and enjoy a high-protein treat that feels like a total cheat meal!

Protein Cherry Garcia Ice Cream
- Total Time: 10 minutes
- Diet: High-Protein, Low-Calorie, Sugar-Free
Ingredients
- 2 scoops (approx. 60g) Vanilla or Chocolate Protein Powder
- 1.5 cups Unsweetened Almond Milk (or milk of choice)
- 1/2 cup Frozen Cherries, pitted and roughly chopped
- 2 tablespoons Dark Chocolate Chips or sugar-free chocolate chunks
- 1/4 teaspoon Xanthan Gum (optional, for thickness)
- 1 tablespoon Erythritol or Stevia (optional, for extra sweetness)
- 1/2 teaspoon Vanilla Extract
Instructions
- In a high-speed blender, combine the protein powder, almond milk, xanthan gum, vanilla extract, and sweetener. Blend on high for about 45 to 60 seconds until the mixture is completely smooth and starts to thicken slightly.
- If you are using an ice cream maker, pour the mixture in and churn according to the manufacturer’s instructions (usually 15-20 minutes). If you are using a Ninja Creami, pour the mixture into the pint container and freeze for 24 hours before spinning. If you don’t have a machine, pour the mixture into a shallow dish and place it in the freezer.
- While the base is thickening, chop your frozen cherries into halves or quarters. If your chocolate chips are large, give them a rough chop as well to ensure you get a bit of chocolate in every bite.
- Once the ice cream has reached a soft-serve consistency, stop the machine or remove the dish from the freezer. Gently fold in the chopped cherries and chocolate chips using a spoon or spatula to distribute them evenly throughout the cream.
- You can eat the ice cream immediately for a soft-serve texture. If you prefer a firmer, scoopable ice cream, transfer the mixture to an airtight container and freeze for an additional 1 to 2 hours before serving.
- Cook Time: 10 minutes